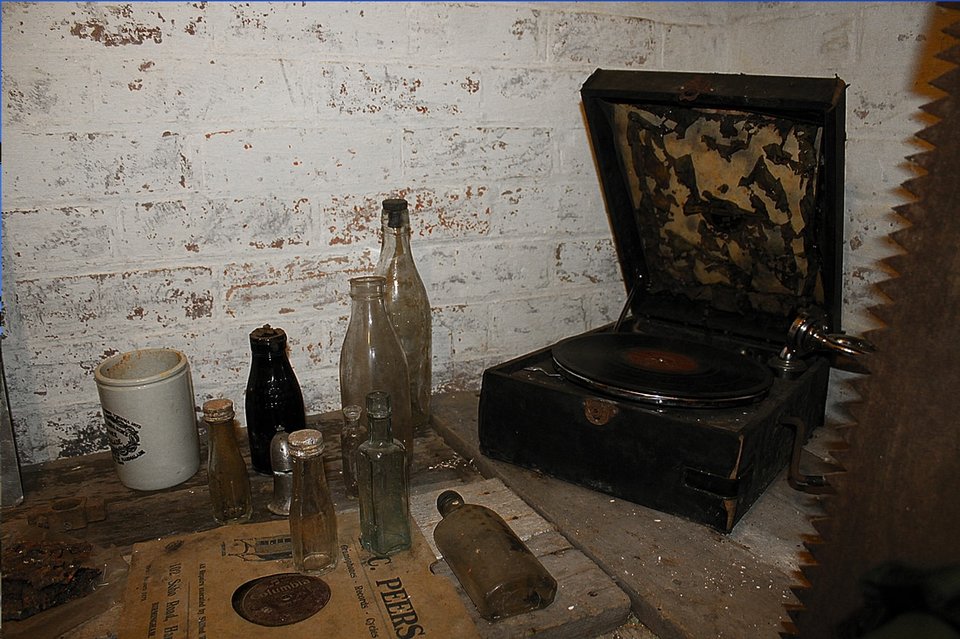
I felt that this image was to me aesthetically pleasing due to the random assortment of bottles and the record player just being put there. For this edit i started by creating a copy for when i use any filter so i can compare and if need be revert to an original. I then proceeded to uses a sharpen filter to bring out the imperfections in the two hundred year old brickwork, doing this also allowed me the chance to touch up the bottle tops manually to make them stand out from each other since the glass is transparent which made the bottle blur. My attention then turn to the record player because it's a key object in this whole image since it's the biggest so i used the quick select tool to select the red on the record and record sleeve itself and desaturated the rest of the image by selecting the inverse this allowed me to keep the red as a prominent colour which also match the terracotta colour of the bricks imperfections. I felt this was all the image needed as it is busy enough with all of the objects to look at.
For this edit i start the same process of creating a copy so i can refer back to it during editing, i also sharpen the image to achieve the look of Scanlan and Polidori. After the Image had sharpened i then used the curves layer adjustment to increase the shadows while keeping the light neutral adding depth to the imperfections of the iron on the cannon ball. I also turned the vibrance down to narrow my colour pallet but then with the colours i had left i saturated them giving the rust a deep brown/orange which i felt made the crevices more prominent. To finish i wanted to remove the white piece of paper, to do this i used the clone stamp tool by selecting part of the cannon ball and gradually making it look like it wasnt touch up. i then added shadow to the new edited piece to make it look more authentic.
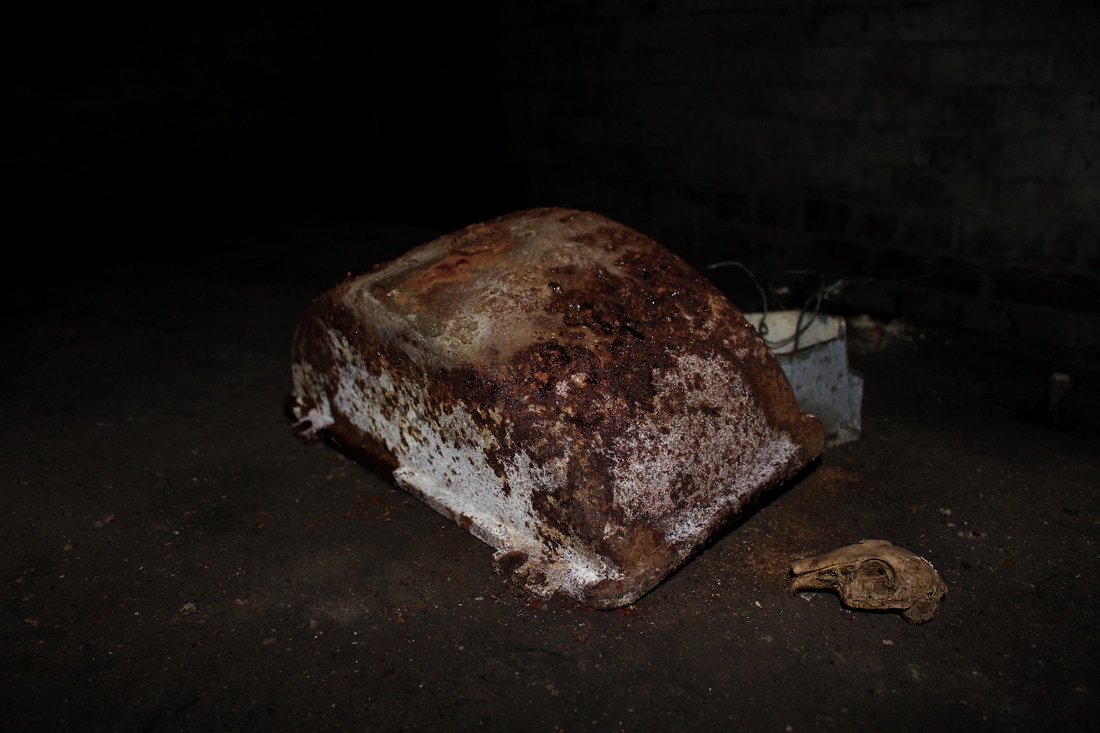
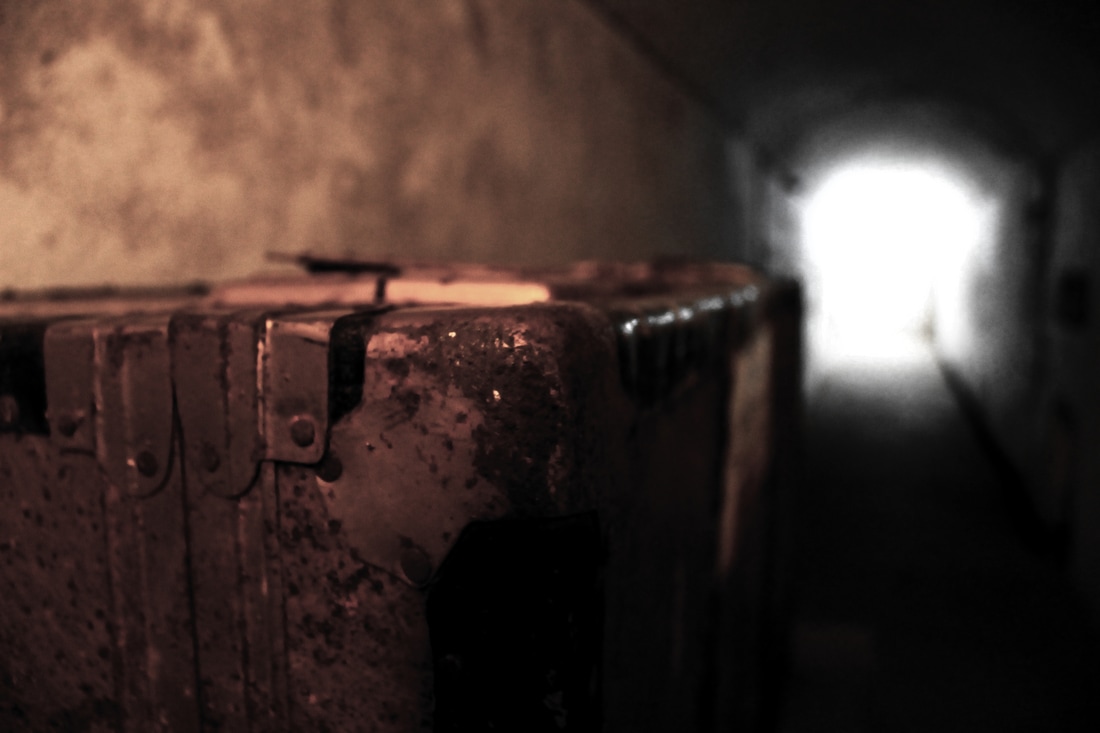
To start with sharpened the fuse box and skull manually rather than using the filter because i wanted to create a depth of field focused on the said objects. I then really wanted to emphasize the rust like i did in the previous edit to create even more depth on the fuse box, to achieve this i used the vibrance layer adjustment but only to slightly enhance the saturation. i then proceeded to sharpen the skull of the rabbit and use the burn tool on the nose and eye socket because i felt that the flash had brightened certain areas when maybe i could have been tone down. to finish this edit off i used the burn tool to roughly burn the edges of the image to darken the blur and create move of a contrast between the two objects.